Thursday, January 27, 2011

For Monday, January 31, 2011 - A Locker Room Proposal

The inspiration is from the proposed renovation plans for the Arlington Boys and Girls Club
Please download this image to trace.

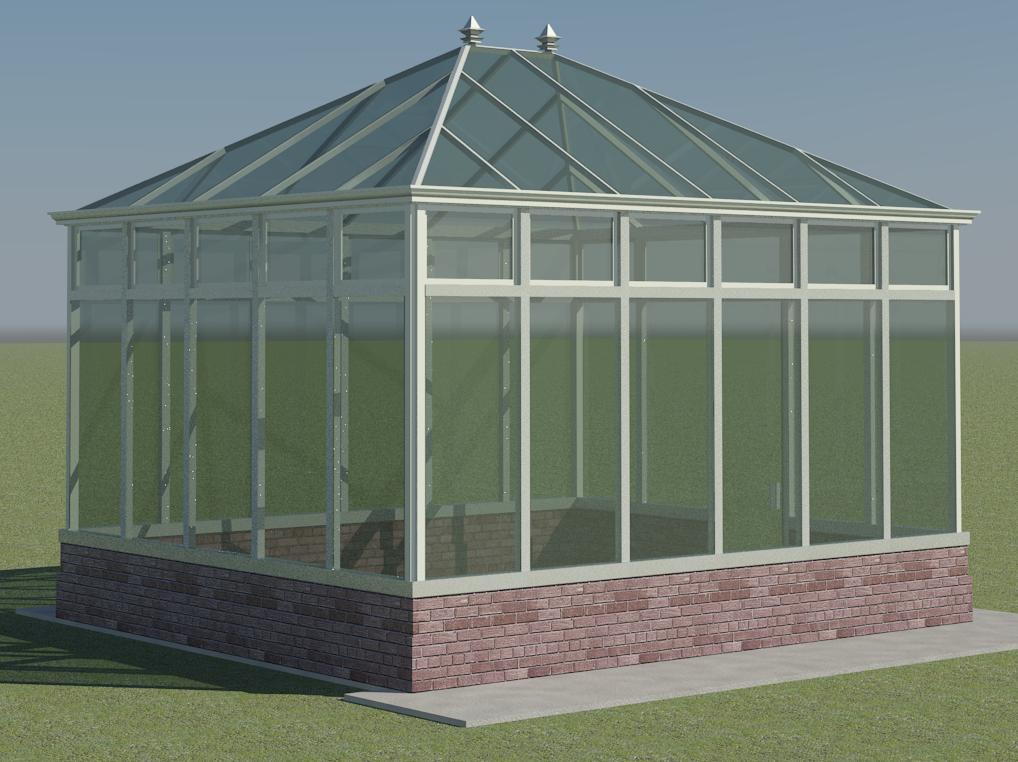
The result could look something like this in Revit (within our time constraints):
It uses a color scheme, based on the "Department" parameter of the rooms.

Here is the tricky part. What methods might we use to make a 3D representation of a color scheme? 

Monday, January 24, 2011

For Monday, January 24, 2011 - A Tiny House and its Presentation

We will model a tiny house. All kinds of Revit tools will be needed.

We can put its various views and other images on a sheet with an artistic flourish. I shall show the trick of how to show an exploded view of a building.

Here is a rendering of the completed model:

Wednesday, January 12, 2011

For Monday, January 17, 2011 - Sloped Glazing

How can we model something like this?
This Edwardian conservatory will require a "Sloped Glazing" roof, stacked walls, curtail walls, an in-place model with a swept profile for the gutter, a curtain panel family for the transom windows, etc.
Besides modelling this building, I will also show how to model the ornaments on the roof. They are work plane-based families with a solid sweep around a tiny square path

Friday, January 7, 2011

Bonus for Monday, January 10, 2011 - Plantings from SketchUp Models

Download the tree SKP from
http://sketchup.google.com/3dwarehouse/details?mid=c51cd05dfaf7705702cea0bb24c9da2&prevstart=300

And we can put the SketchUp 3D model into an RFA to use in our design.


For Monday, January 10, 2011 - Area Analysis

Make an Area Plan, color scheme with legend, modify area tags, create area schedule with totals, use shadow casting in plan, property lines, etc.

Here is the inspiration (please download the image to trace):
And here is the result from Revit:


Monday, January 3, 2011

For Monday, January 3, 2011 - Massing

How would we model something like this house in Revit?
The answer is to use Massing, then add Walls by Face.
We will look at some aspects of the Massing feature of Revit and use that house as a goal.

Your result may look roughly like this:
(It obviously needs some refining to make it match the first image.)
Some files to help you with this effort have been collected and may be downloaded at http://www.truevis.com/Files/2011-1-3.ZIP